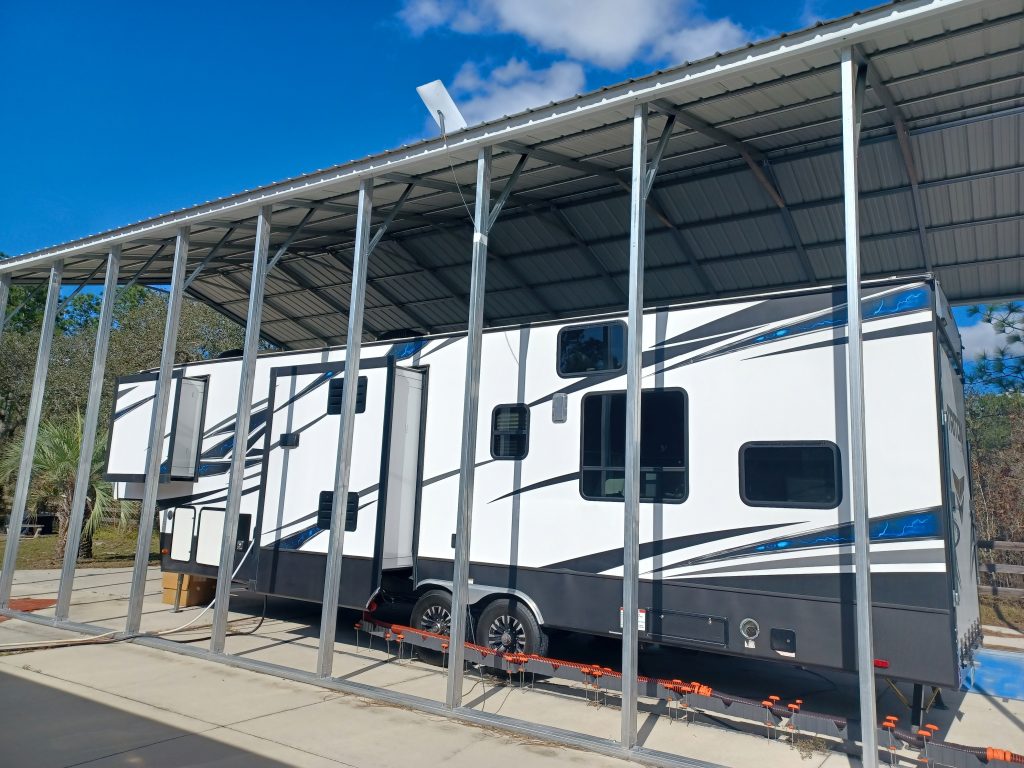
Protect Your Investments from Extreme Weather!
Winter is coming, and for RV owners, that means it’s time to prepare your rig for the cold months ahead. Proper winterization protects your RV’s plumbing and other systems from freezing temperatures, preventing costly repairs when spring rolls around. Follow these steps to ensure your RV is ready to weather the winter.
Step 1: Drain the Water System
Water expands when it freezes, which can wreak havoc on your RV’s plumbing. Start by completely draining the water system:
- Turn Off the Water Heater: Allow it to cool to avoid burns.
- Drain the Fresh Water Tank: Open the tank’s drain valve and let the water flow out.
- Empty the Water Heater: Remove the drain plug (or anode rod) and let the water drain completely.
- Open the Low-Point Drains: These are located at the lowest points in your RV’s plumbing to ensure complete drainage.
- Flush the Tanks: Don’t forget to clean and empty the black and gray water tanks for a fresh start come spring.
Step 2: Bypass the Water Heater
Your water heater doesn’t need antifreeze. Most RVs have a bypass valve that redirects the antifreeze around the water heater. If yours doesn’t, consider installing one—it’s an affordable upgrade that pays off in convenience.
Step 3: Add RV Antifreeze
Now comes the most critical step: protecting your plumbing with non-toxic RV/marine antifreeze.
- Set Up Your System: Attach a pump or use your RV’s water pump to draw antifreeze directly from its container.
- Run Antifreeze Through Faucets: Open each hot and cold tap, showerhead, and toilet one at a time until you see pink antifreeze.
- Don’t Miss Extras: Remember to run antifreeze through exterior showers, spigots, and any other water outlets.
Step 4: Protect Your Drains
Pour a small amount of antifreeze into every sink, shower, and toilet drain. This step ensures the p-traps and seals won’t freeze and crack during the winter.
Step 5: Remove and Store Batteries
Batteries don’t do well in freezing temperatures. Disconnect them and store them in a cool, dry location. To keep them healthy, use a trickle charger to maintain their charge throughout the winter.
Step 6: Prep the Propane System
Safety first! Turn off the propane tanks and disconnect them. If needed, store them in a well-ventilated area away from flammable materials.
Step 7: Seal the Exterior
Inspect your RV for cracks, gaps, or damage that might let in cold air or pests. Use RV-specific sealant or caulking to seal up any leaks. Consider adding vent covers or screens to keep critters out.
Step 8: Cover or Store Your RV
An RV-specific winter cover can protect your rig from snow, ice, and UV damage. If possible, park your RV in a sheltered location. Don’t forget to inflate the tires to the recommended pressure and use tire covers to prevent cracking.
Step 9: Prep Appliances
Remove all food from the RV and defrost the fridge and freezer. Once clean, leave the refrigerator door slightly open to prevent odors and mold from developing.
Step 10: Plan for Spring
Make a checklist to reverse the winterization process when the weather warms up. A little planning now will make it easier to hit the road when adventure calls!
With these steps, your RV will stay safe and sound all winter long. Proper winterization not only protects your investment but also ensures your RV is ready for the next season of travel.
